Notifications
The Email List settings are where you can globally manage email notifications.
You can enable/disable Notifications for specific Alerts from the Dashboard.
The following things can be configured:
- Enable/disable email notifications globally.
- Enable/disable email notifications for individual recipients.
- Customize Subject for emails.
- Add/Edit/Remove email recipients.
The email address tied to the MultiSite's owners account is by default, always the first email on the list and is uneditable or removable.
You can still disable and enable this email address from receiving notifications.
Enable Email Notifications
Click on the toggle button to enable or disable the email notifications.

The subject and recipients can be added regardless of the email notifications being enabled or disabled.
When the notifications are enabled and an Alert has notifications enabled, the Recipients will get an email.
Configure Subject
The subject of the email can be modified as wanted and you can add special variables which will be explained further below.
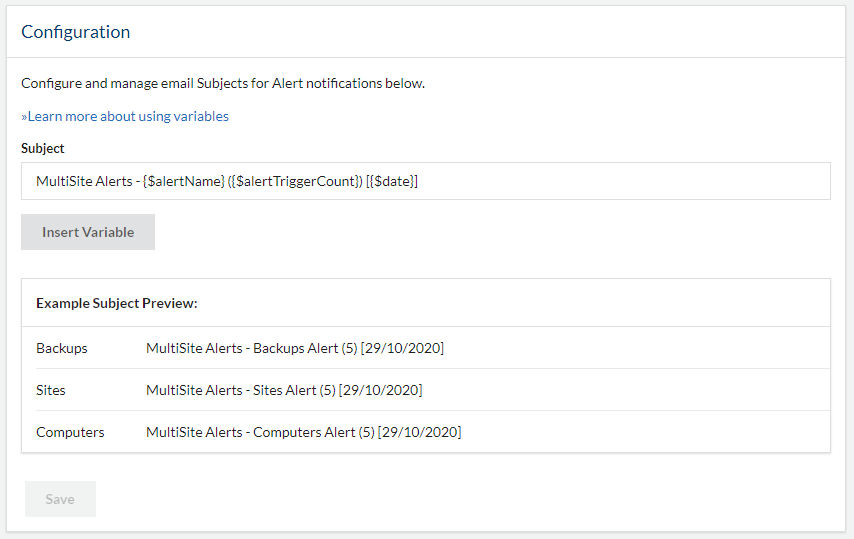
A preview of what the email subject will look like can be seen above.
Variables
Special variables can be added to the subject which will be replaced with the proper value when the email is sent.
To see all the available variables, please read the next section Available Variables.
Text inbetween {curly braces} are conditional. Meaning, if a variable within the {curly braces} is not present, nothing between the braces will be displayed.
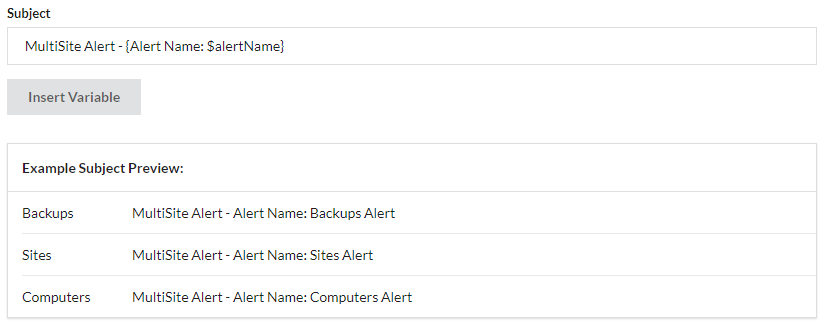
Variables can be added to email subjects by inserting the dollar sign ($) before a word within a pair of {curly braces}, example:

Text can also be added within the pair of {curly braces}, for example:
Available Variables
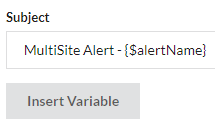
The Insert Variable button can be used to easily add variables to the subject as shown below
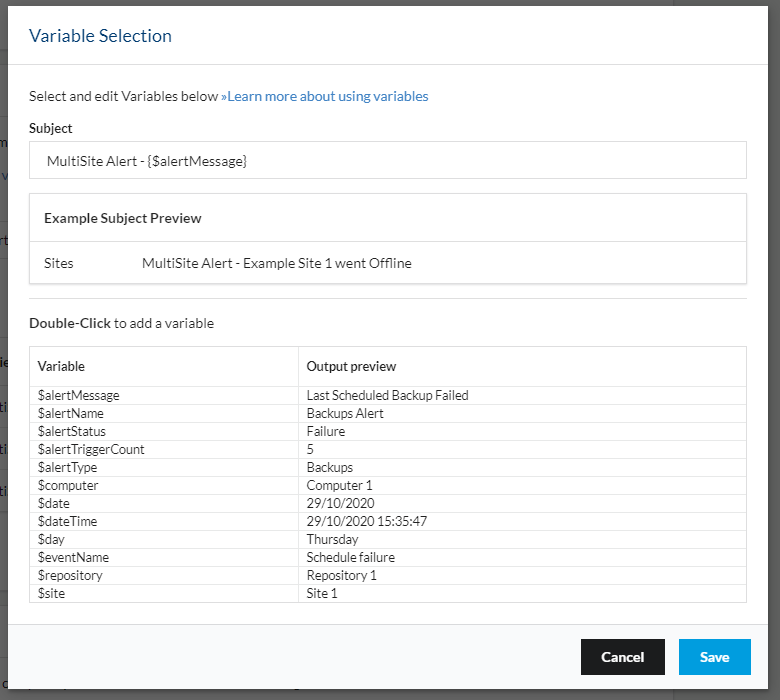
When clicking on the Insert Variable button, a modal will appear where you can edit the subject and a list of variables available each one with an example.
Dropdown Options
When the character $ is present inf the input and the cursor is next to it, a dropdown of options will appear:

Click on a variable to add it to the subject.
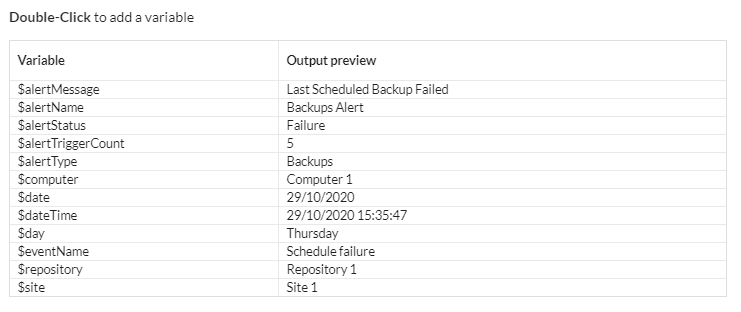
Table of Variables
When double-clicking on a variable on the table, it will automatically add the variable to the subject.
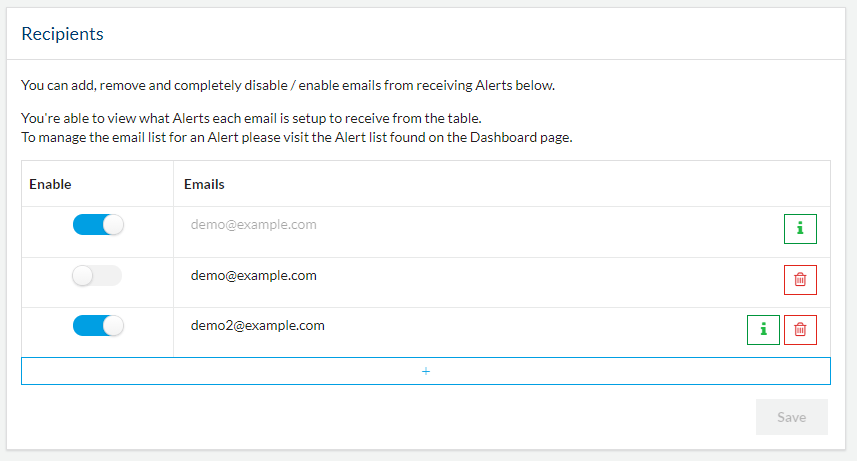
Recipients
The list of recipients who will get a notification email.
Add
To add a new recipient, click on the + button at the bottom of the table and fill the input with the correct email.

Edit
To edit a recipient, click on the Email text, which will allow you to modify the email.

Enable / Disable
![]()
Click on the toggle button to enable or disable recipients of receiving emails. If a recipient is disabled, an email won't be sent to them.
Delete
![]()
Click on the red button to delete a recipient. A confirmation box will appear to confirm the deletion.
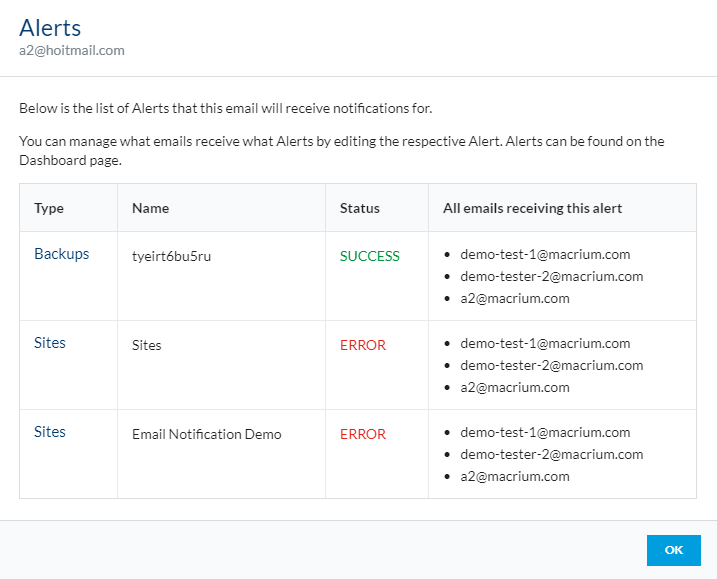
Details
![]()
By clicking on the green button, a modal will appear with the Alerts the selected email will receive emails for.
How do I get here?
- You can access the Email settings from the Settings section of the primary app menu.