Alerts
Description
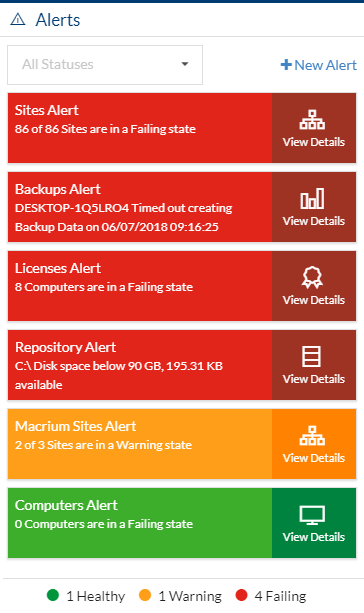
Allows you to setup and configure alerts that gives a detailed breakdown on the status of different metrics related to your managed Sites.
You can find all your Alerts in the right-hand section of the Dashboard.
Filtering
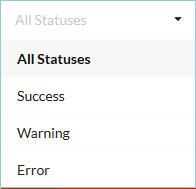
It's possible to filter Alerts by status's, these are Success, Warning or Error.
Details
 Clicking on any Alert will open up a details page with an in-depth breakdown on failing items and their causes.
Step 1 - Alert Type
When adding or editing Alerts you will interact with a wizard that is detailed below:
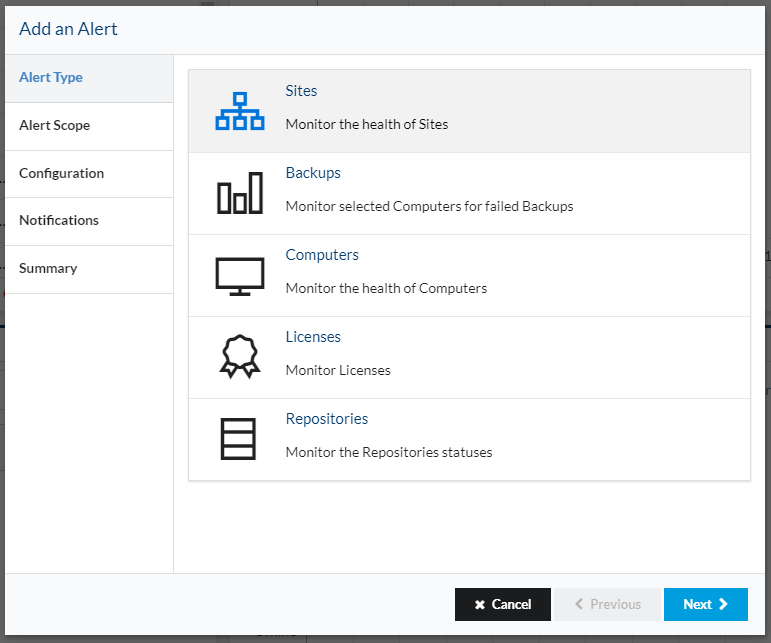
On the first screen you will choose the type of Alert you wish to create.
There are 4 types of Alert you available: Sites, Backups, Computers, Licenses and Repositories.
Step 2 - Choose Items to be monitored
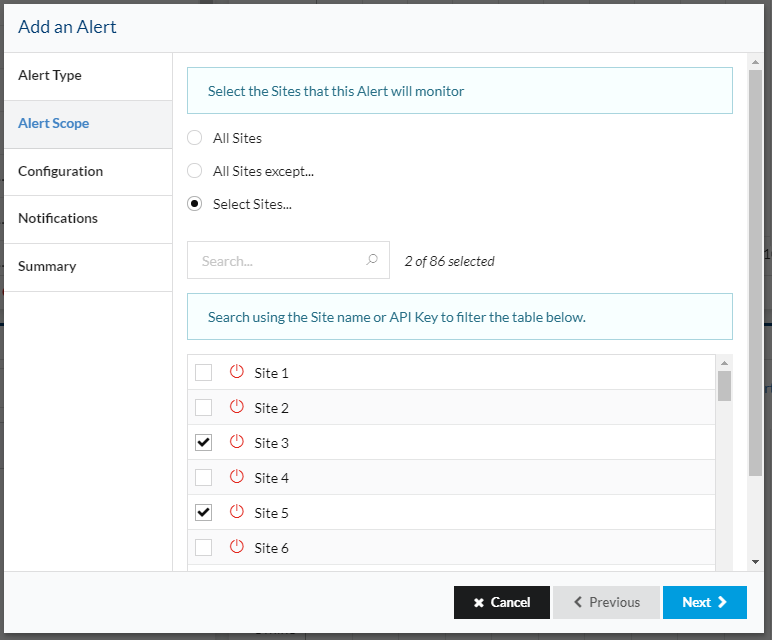
- Sites and Licenses
On the next screen you can choose which Sites you wish to monitor for this Alert. You may wish to use global Alerts that monitor all Sites, or multiple Alerts monitoring specific Sites, or any combination of these.
- Backups, Computers and Repositories
These three different types have a similar interface to choose the items to be monitored. (Computers as an example)
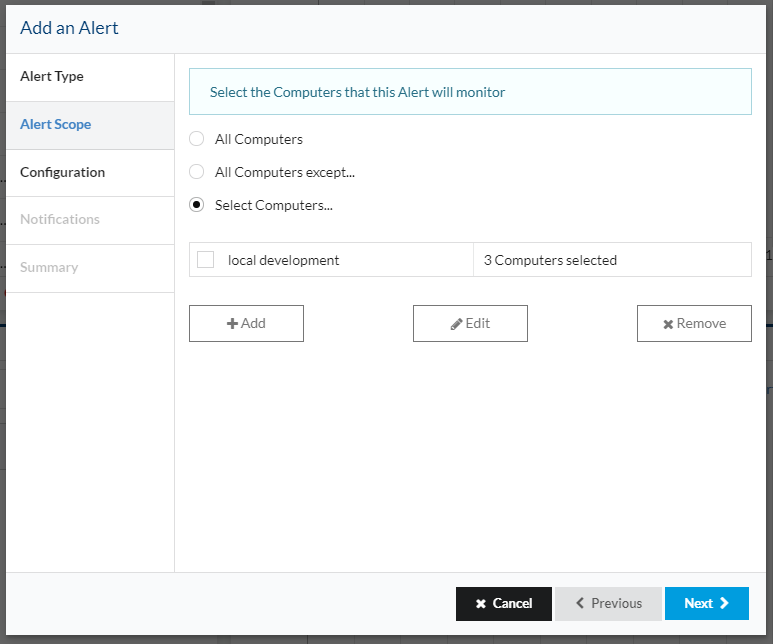
Three actions are available: Add, Edit and Remove.
Click on Add to choose and select items to be monitored.
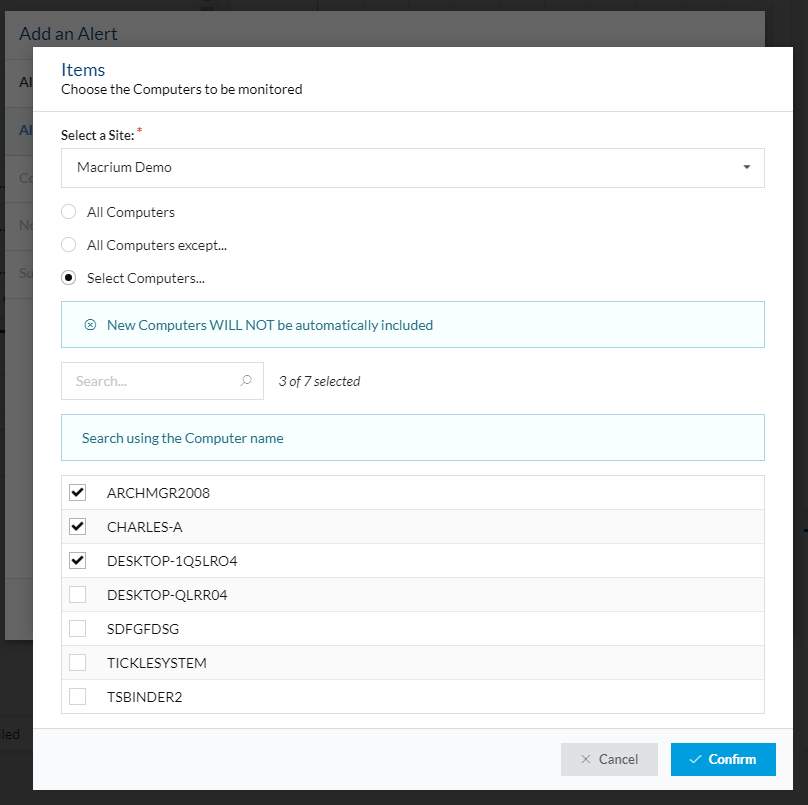
All Items- All the items of the selected site are going to be monitored.
All Items except - All the items except the ones selected are going to be monitored.
Select Items - Only the selected items are going to be monitored.
To Edit an item select an item on the main list by clicking on the row and them click on the Edit button.
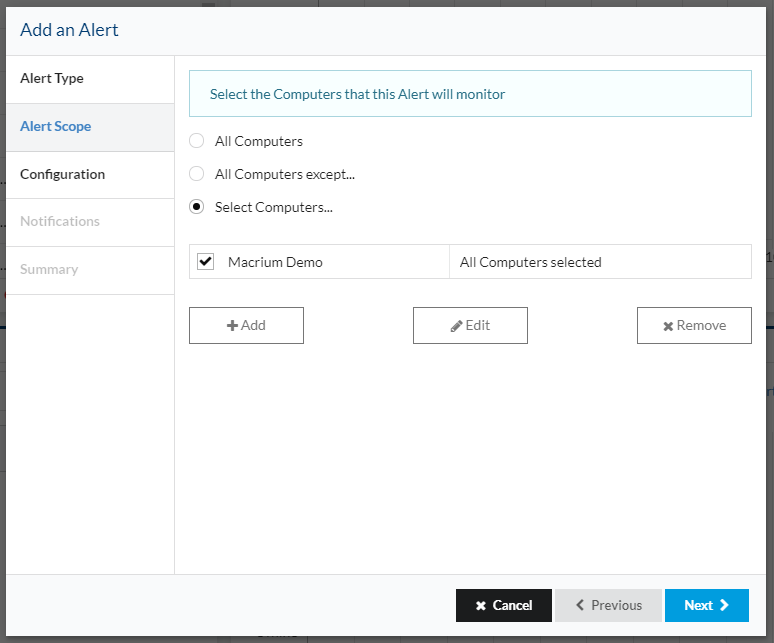
The previously selected items will be already selected in the open modal.
To Remove an Item just select a row on the main table and then click on the Remove button.
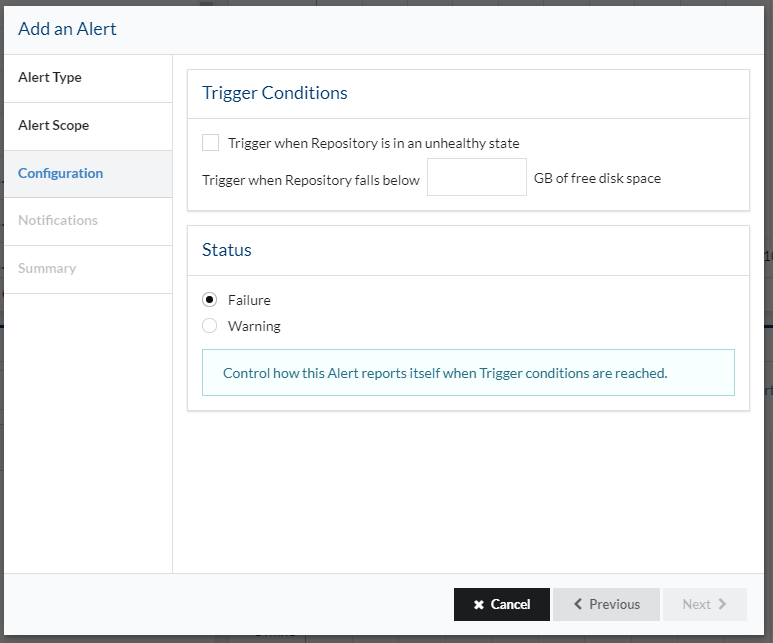
Step 3 - Configuration
Next you can choose specific configuration steps for the Alert. This is also where you can define when Alerts enter the Error state and, optionally, the Warning state.
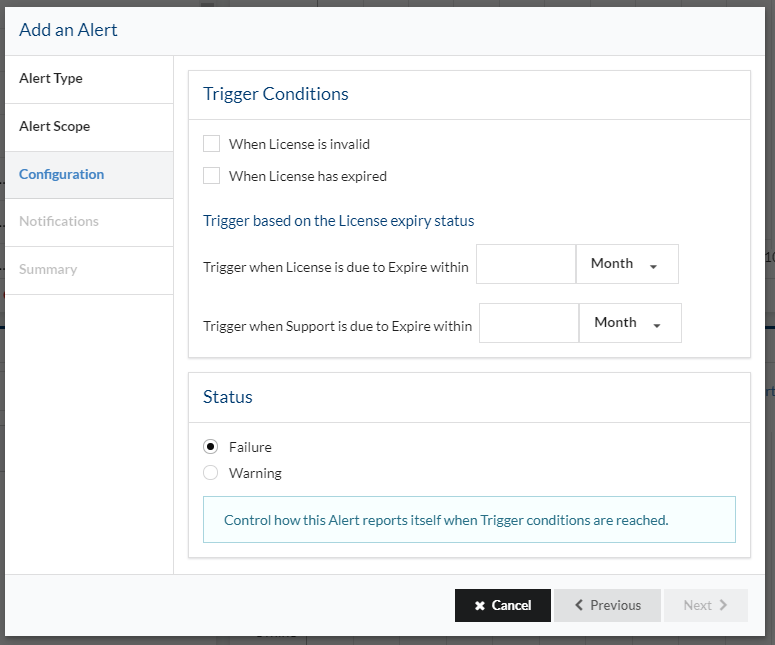
(Licenses Alert example)
You can also choose how an Alert will report itself when the above Trigger conditions are met. An Alert can be in three states:
- Healthy
- Failing
- Warning
The last two states, Failing and Warning are configuration states that are will trigger once trigger conditions are met.
Step 5 - Notifications
Next you can choose to enable or disable email notifications (you can globally enable and disable email notifications for Alerts in the Settings page).
By default, emails are disabled for Alerts:
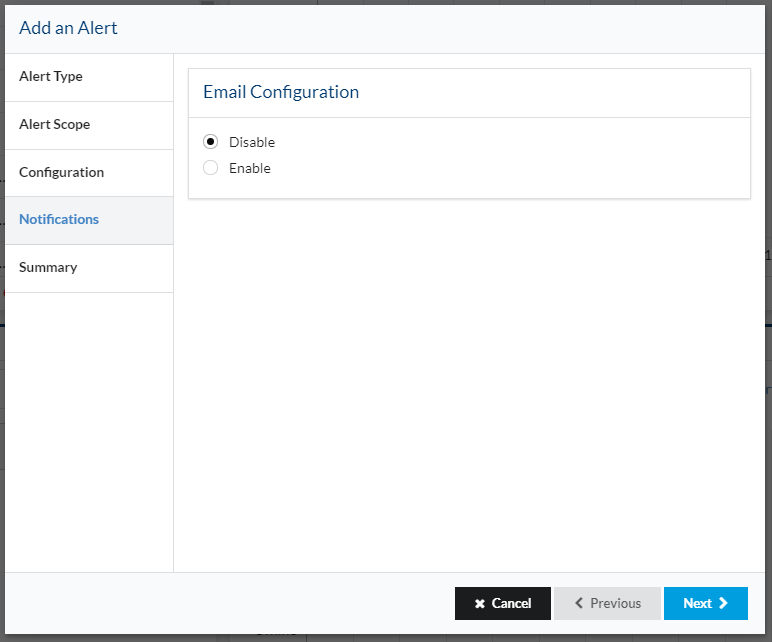
Enabling email notifications gives you a list of configuration options. These configuration options are:
- Frequency
- Subject
- Email Recipients
Frequency
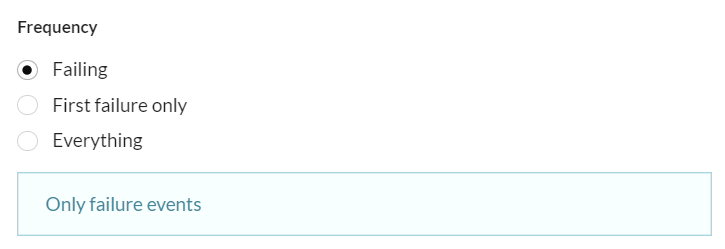
Configure when Alert emails should be sent. This configuration step allows for to options:
- Failing
- Trigger only when an Alert falls into a failing state
- First failure only
- Triggers only on the first transition from a Healthy state to a Failing state
- Everything
- Trigger on everything, even when an Alert falls back into an healthy state
Subject

There's two configuration options for the Alert email Subject. These are Global, which uses the Global email subject settings that can be found in Settings or custom.
Email Recipients
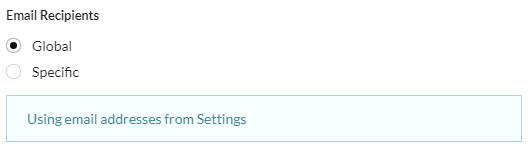
You can use the email list from Settings or select specific emails from the global list.
Step 5 - Alert's Name
Lastly you need to provide a descriptive name for the Alert. This can be used to give Alerts names that mean something to you / your organisation.
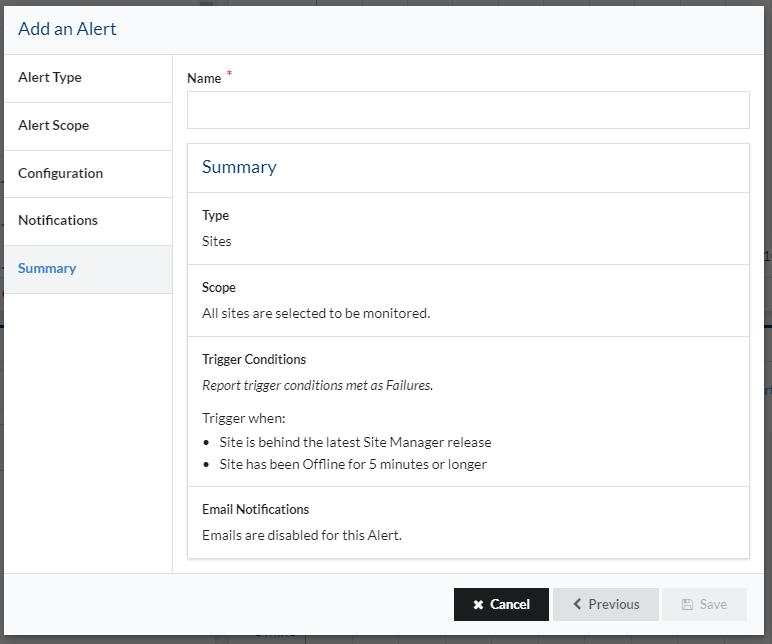
(Sites Alert example)
The final step also includes a Summary of the Alert configuration.
Email Notifications
Please be aware, emails are sent when an Alert status changes and if any items in the Alert scope match the trigger conditions.
How do I get here?
- The Alerts are available on the Dashboard. The Alerts are shown on the right-hand side of the page.