Windows PE rescue media creation fails and the following may be seen the the Windows PE log file:
ImageX Tool for Windows
Copyright (C) Microsoft Corp. All rights reserved.
Version: 6.2.9200.16384
Mounting: [C:\boot\macrium\WADKFiles\media\sources\boot.wim, 1] -> [C:\boot\macrium\WADKFiles\mount]...
[ 0% ] Mounting progress

Error mounting image.
A required privilege is not held by the client.
This error may indicate that default Windows security settings have been to be modified. Typically, this is caused by Anti-Virus/Security software or by incorrect 'Administrator' group assignments.
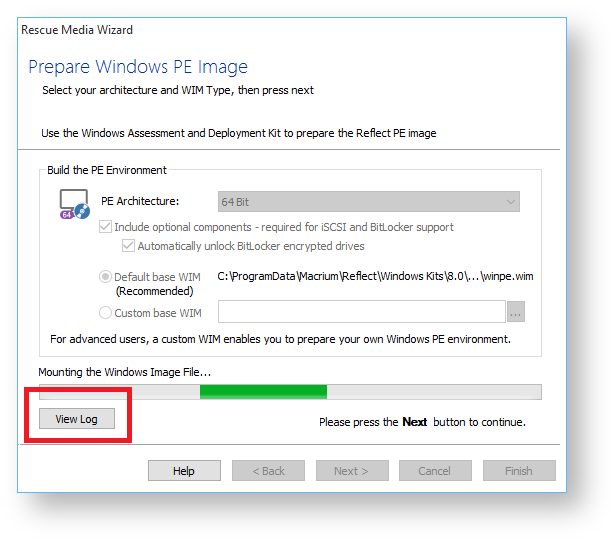
Note: To view the Windows PE log file click the 'View Log' button in the 'Prepare Windows PE Image' wizard page:
To resolve follow the steps below:
Ensure that your Windows User Account is a member of the Administrators Group
- Start the Windows 'Computer Management' console by running 'compmgmt.msc'
In Windows 10 type compmgmt.msc in the search box:
In Windows 7 and Vista click 'Start' and type compmgmt.msc:
- Navigate to 'Local Users and Groups' > 'Groups', then right click on 'Administrators' and select 'Add to group'.

- If your user account isn't in the list then click the 'Add' button:

- Enter your account name and click 'OK':

Ensure that the 'Administrators' Group is assigned to the 'Auditing and Security log'
- Start the 'Local Group Policy Editor' by running 'gpedit.msc'.

The above example shows Windows 10. For other versions of Windows click the 'Start' button or press the Windows key and type 'gpedit.msc'
- Navigate to 'Computer Configuration > Windows Settings > Security Settings > Local Policies > User Rights Assignment' and select 'Manage audit and security log'':

- Double click on 'Manage audit and security log' to display the Properties dialog:

- Ensure that the 'Administrators' user group is shown, if not then click 'Add User or Group' then click the 'Object Types' button and select 'Groups'.

- Enter 'Administrators' and click 'OK':

- Finally click 'OK' to save the changes:
